

This week we thought we would give you an overview of a process one of our artists uses for creating a solid base mesh for sculpting a character using ZSpheres and ZSketch:
Blocking out a character with ZSpheres is a great way to start a high res sculpt in ZBrush, particularly if you want to avoid jumping between different programs at this point in the workflow.
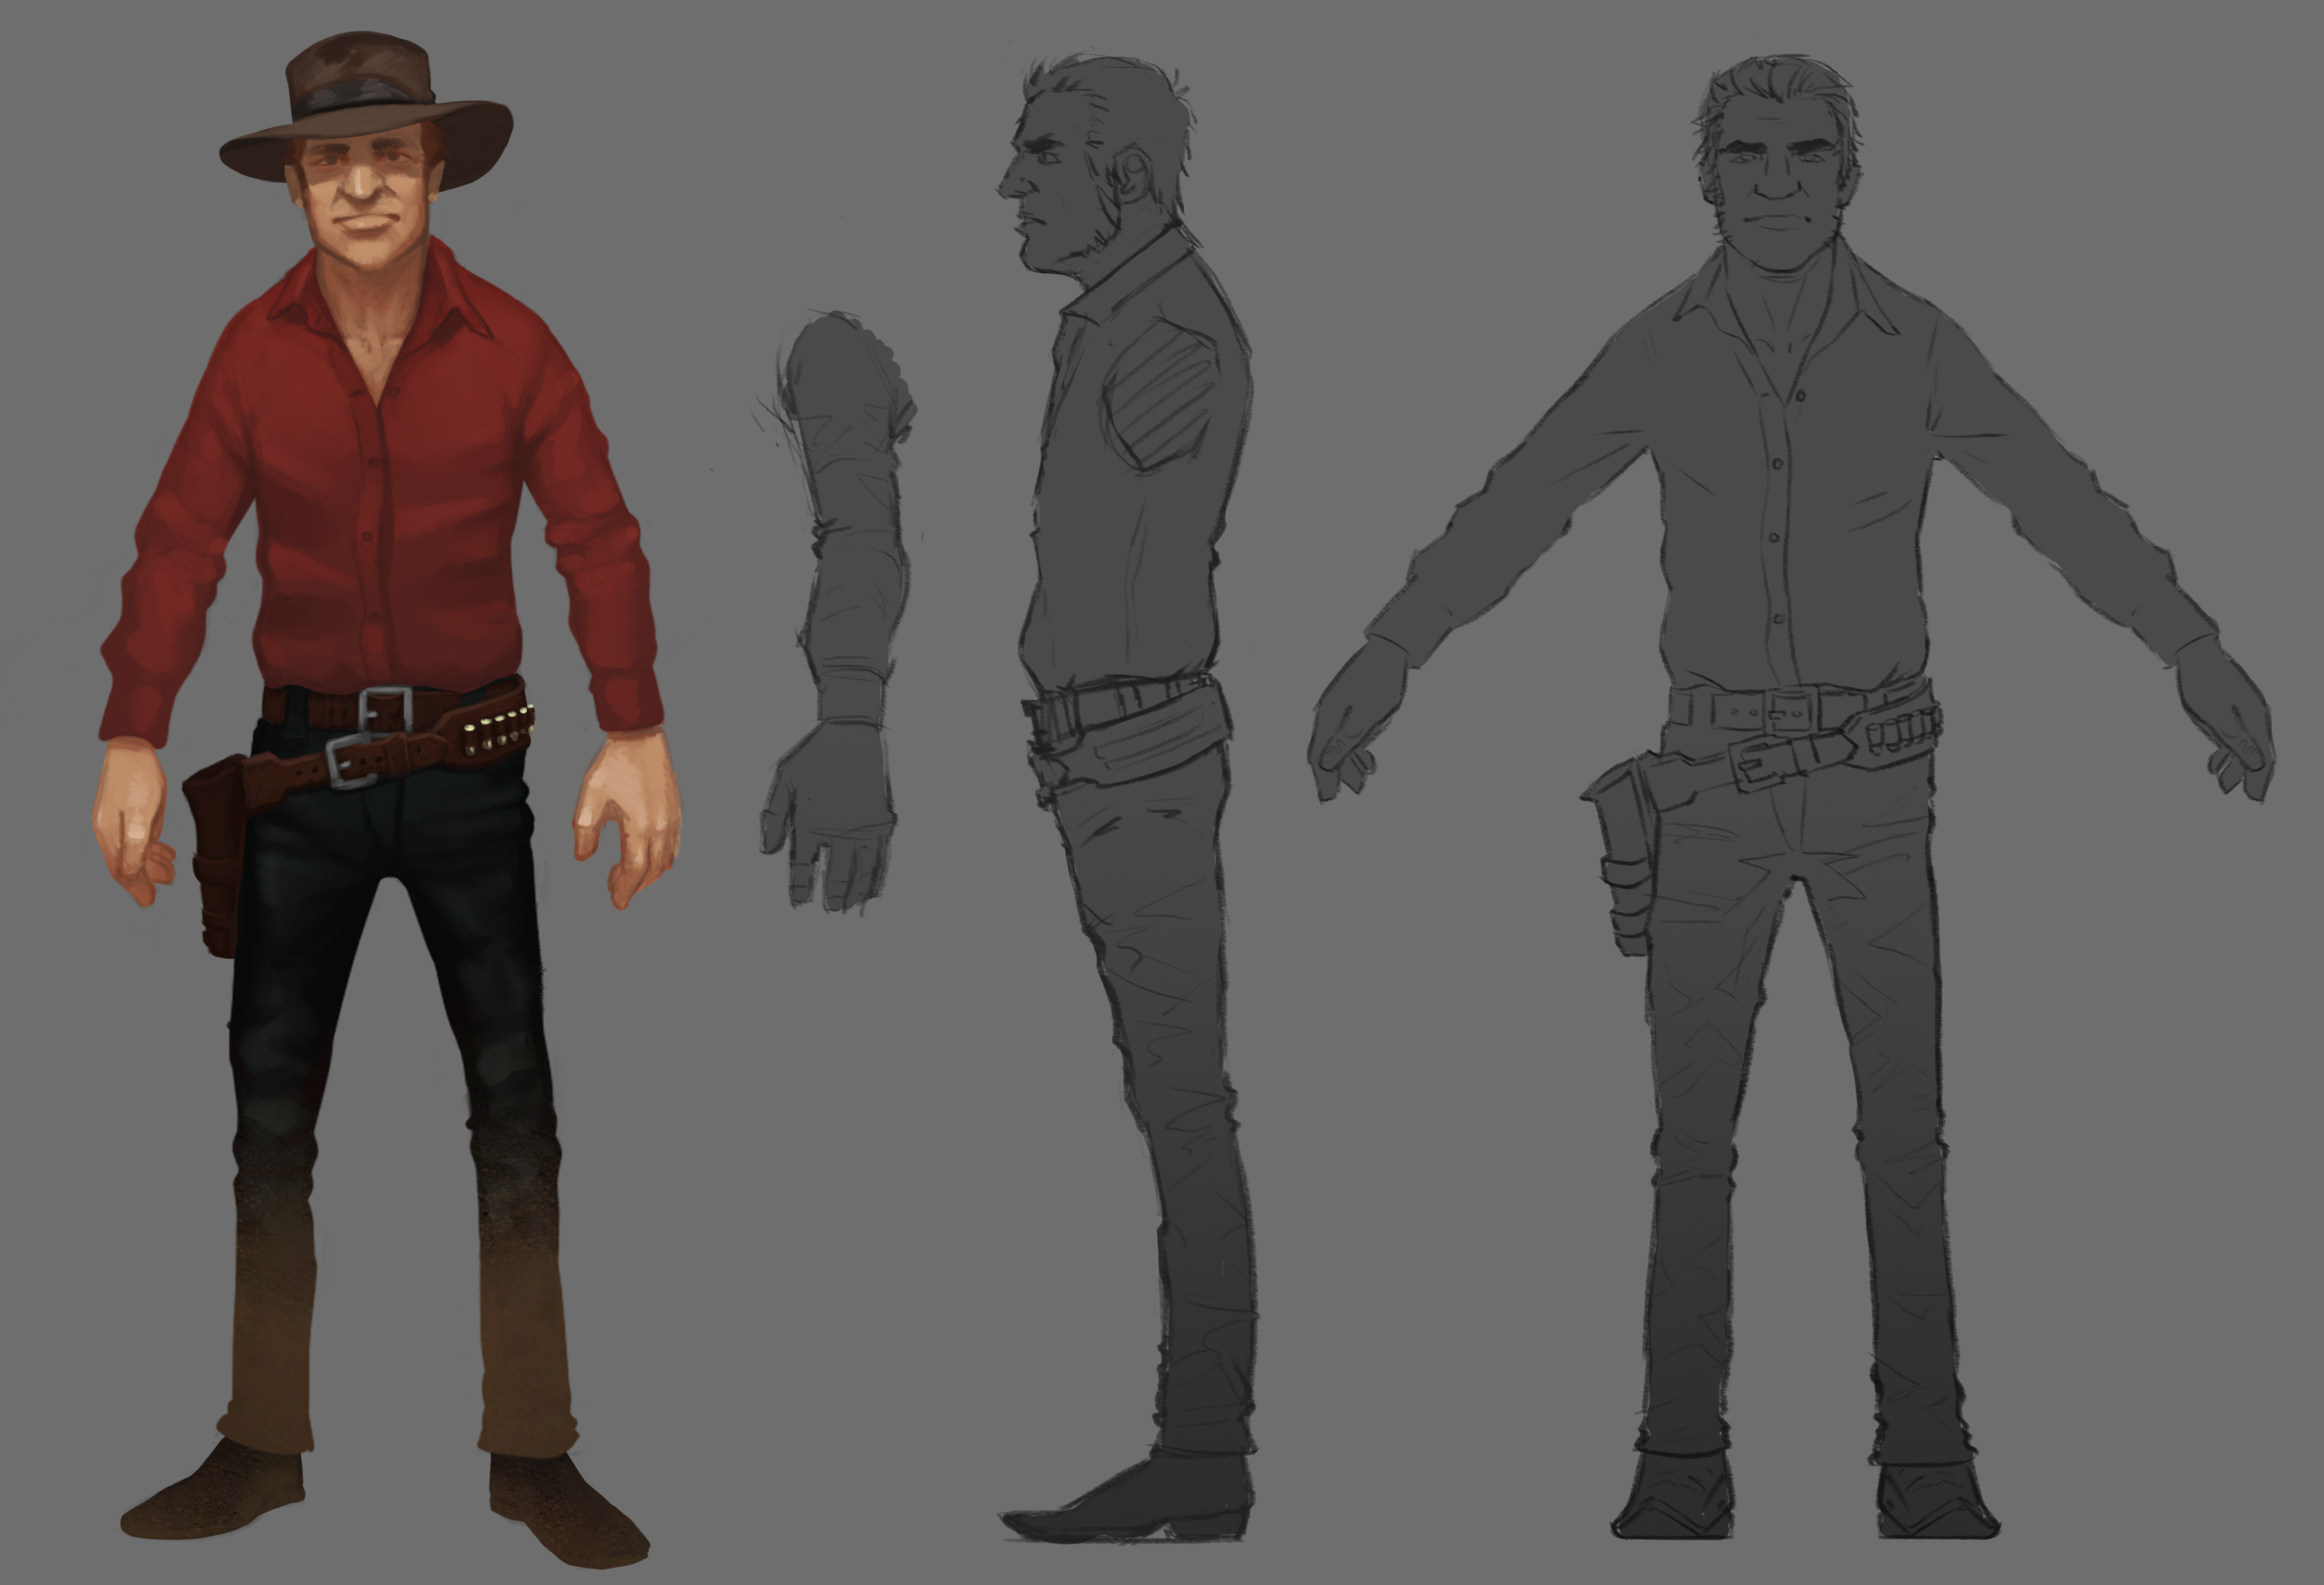
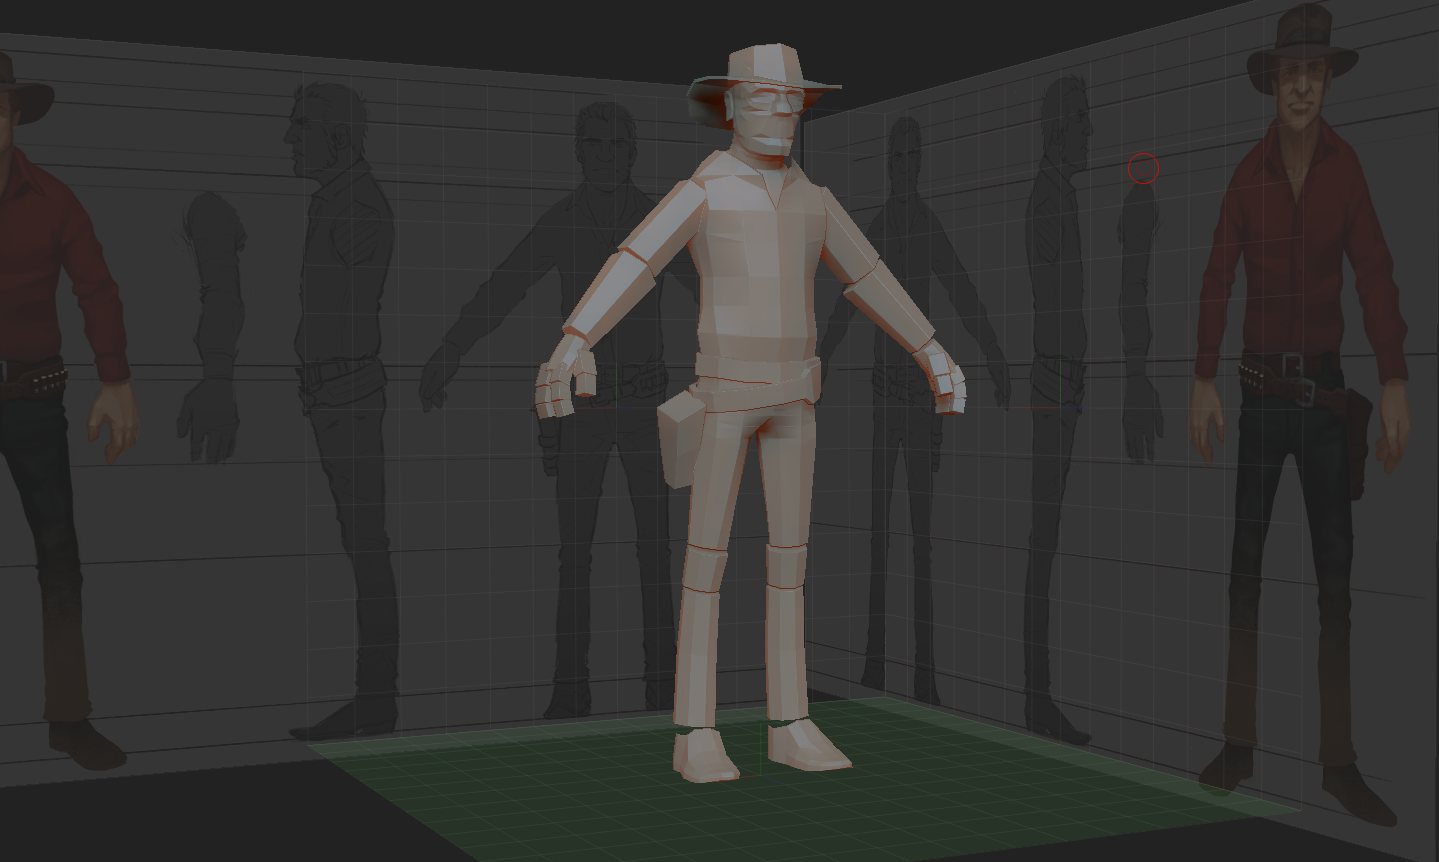
After setting up a scene with my orthographic imagery I use my low poly greybox character as an additional reference for laying out my ZSpheres. This step isn’t necessary but I had the greybox character handy so that our Rigger and Animator could do their work in parallel to the sculpting. For this character I needed to sculpt his upper body, even though he is clothed, since in the future we are planning to add customization options for the player.
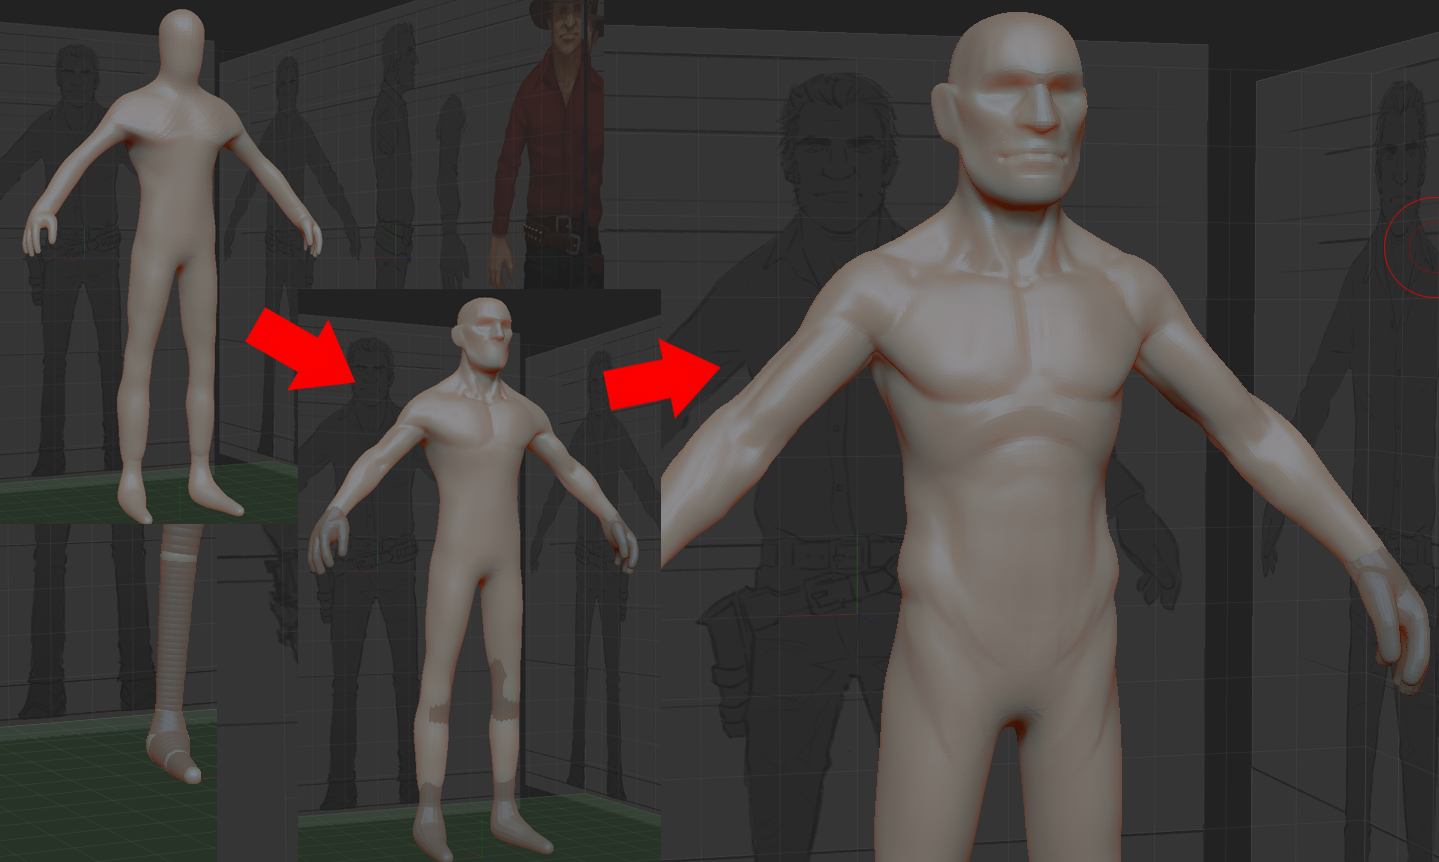
Using my references I go through and place the ZSpheres, pressing ‘A’ frequently to see what sorts of masses were being created. This ensures I am leaving enough space for the ZSketch volumes that will soon be added. I pay particular attention to the hands to save me some time later when I get to the refining stage.
After this I make a duplicate of my ZSpheres in the subtool menu and use ZSketch to block out major forms (press shift+a on your ZSpheres to convert it to ZSketch). Think of this process as traditional sculpting; ZSpheres are the armature and ZSketch is laying down the clay on top. I stick large tubes of clay on the armature and then smooth them down to an appropriate size. Again, frequently pressing the ‘A’ key to preview what it will look like as a mesh once converted.
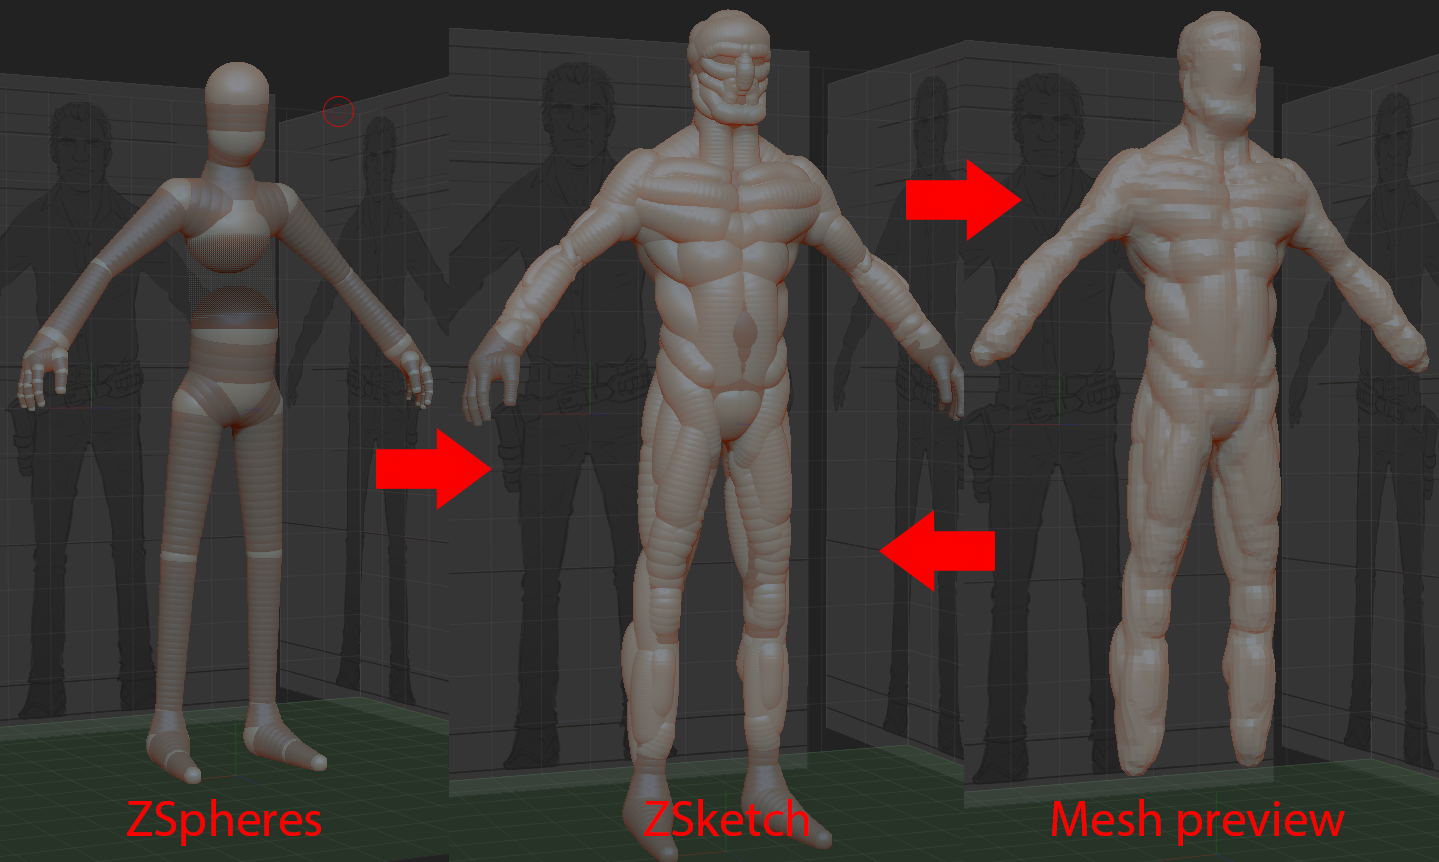
Once I am happy with the ZSketch I convert it to a mesh and start continually smoothing it out and ZRemeshing constantly, keeping my mesh density low so as to not get distracted by details until I am happy with the major forms.
I kept my initial ZSpheres so that I could use them for the hands, ZSketch isn’t really necessary for such small forms and this way I can keep the hands separate and avoid destroying them through the numerous points at which I ZRemesh the model.
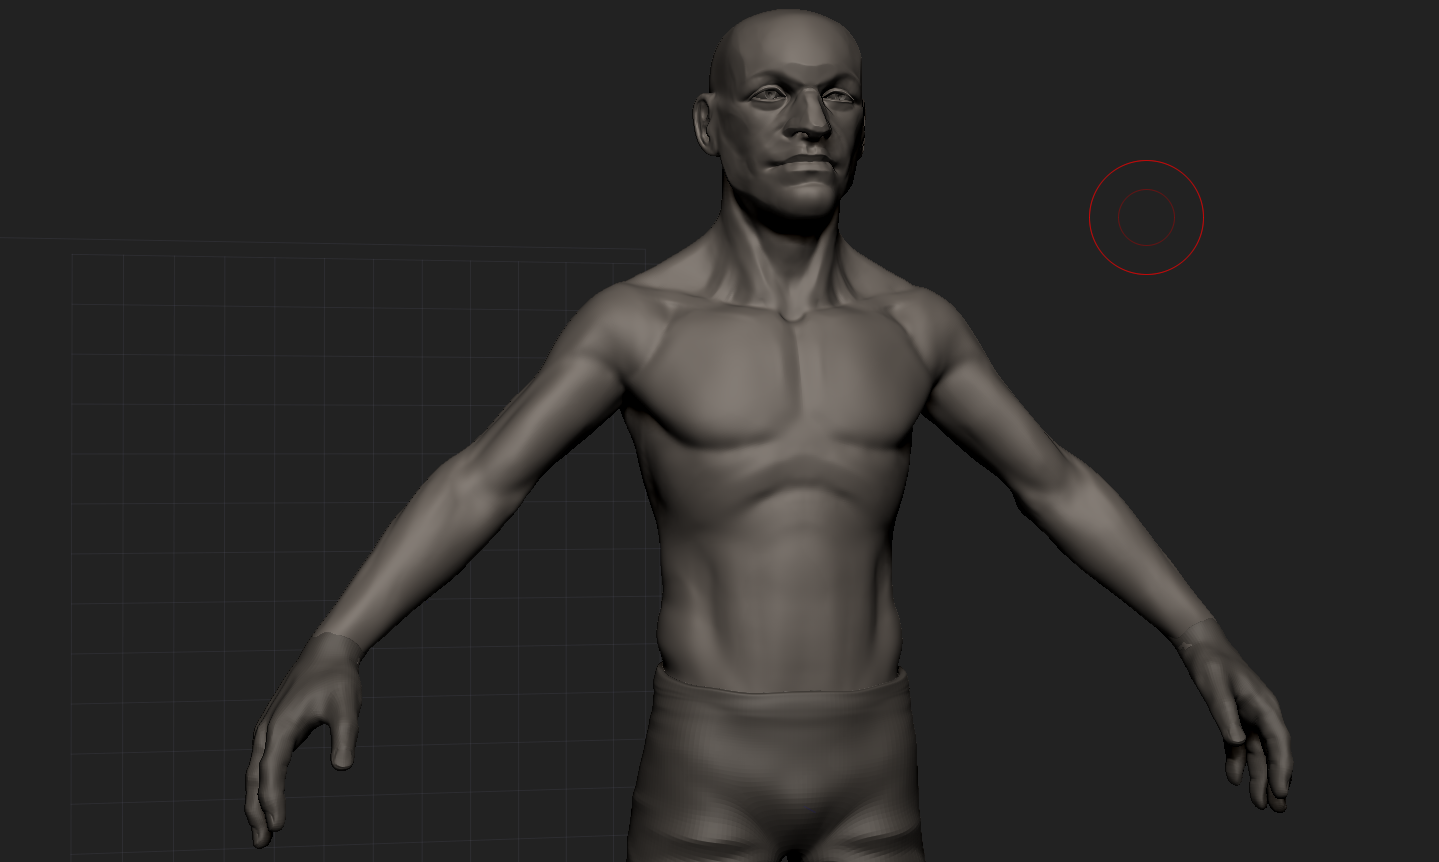
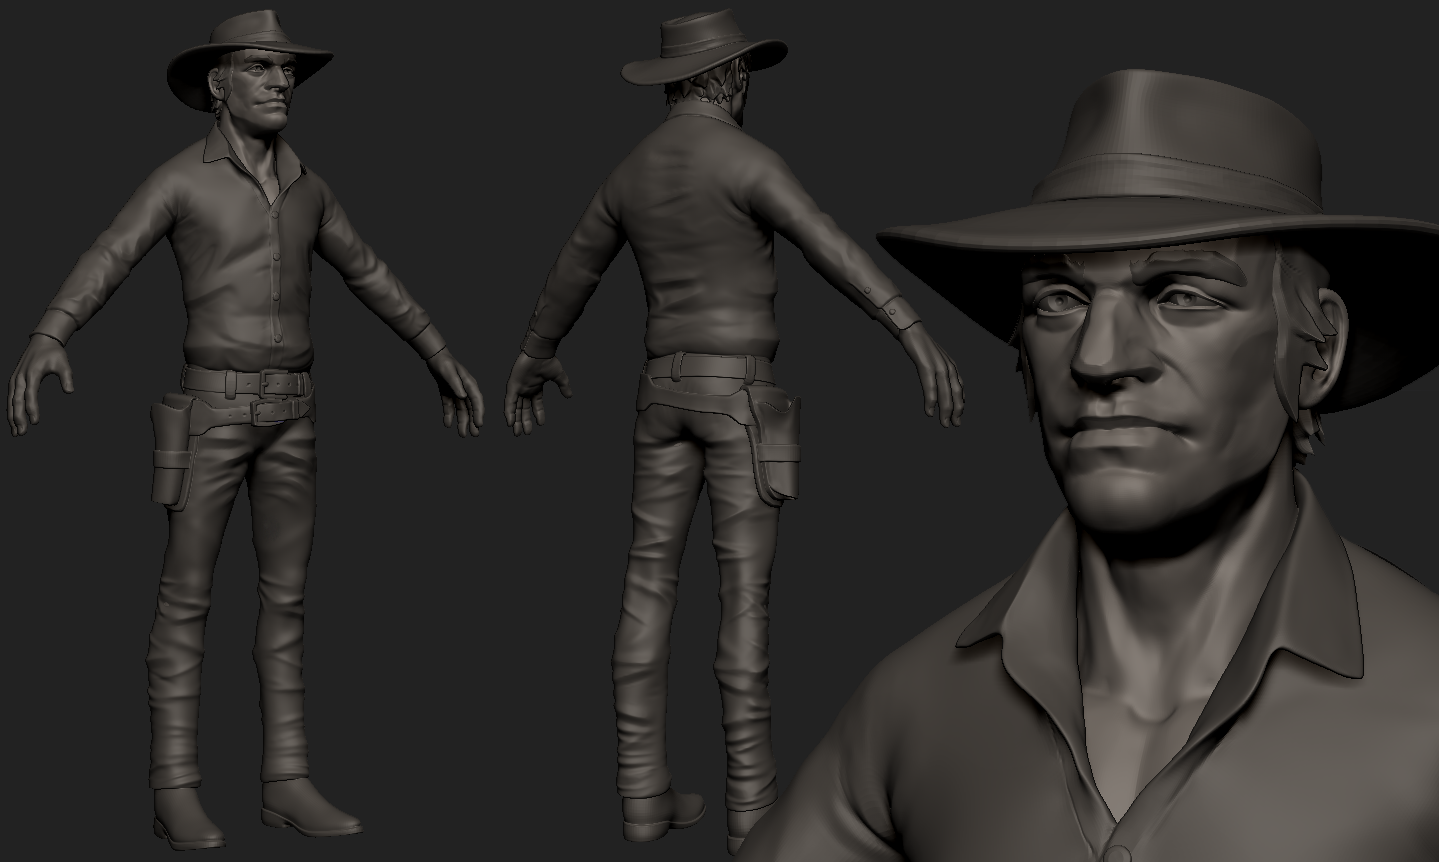
And there you have it, that’s pretty much my process for starting a character sculpt in ZBrush with ZSpheres and ZSketch. Eventually I ended up with the Sky Noon gunslinger.